Guide & tutorial
How to use the studio
Everything you need to design your parametric wall and get the fabrication files out. The studio is free and install-free — an account is only useful for the gallery and cloud projects.
New · full walkthroughFrom design to cut: every CNC setting explained→01
Getting started
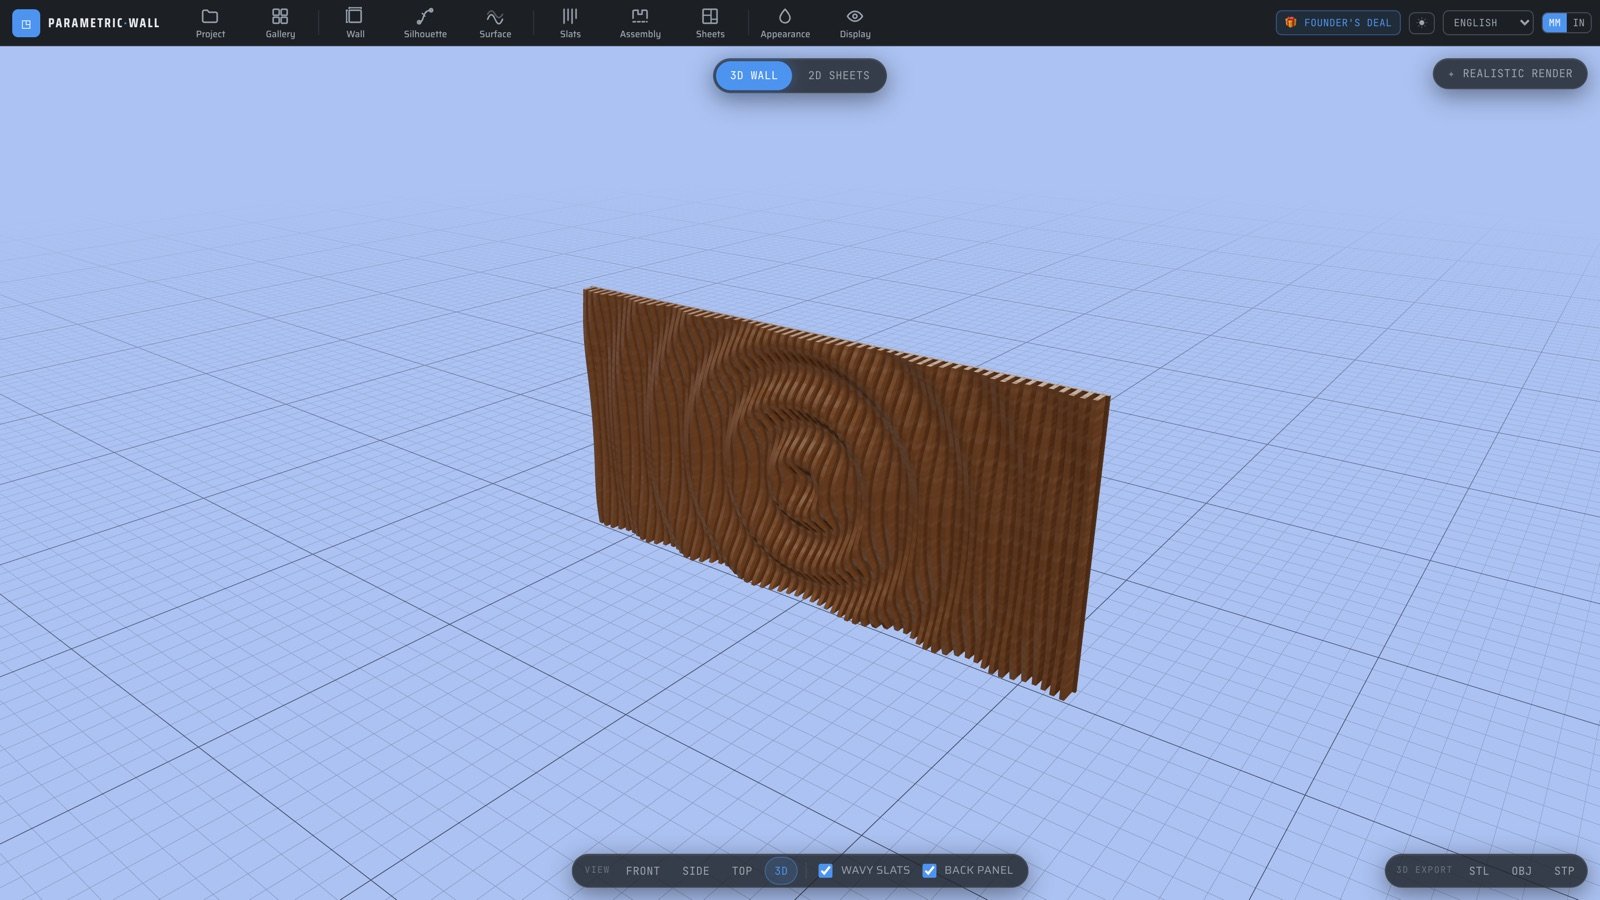
Open the studio: your 3D wall appears in the middle, controllable with the mouse (drag to rotate, scroll to zoom). Everything is driven from the toolbar at the top.
On first launch, a 60-second tour walks you through the key steps. You can replay it anytime via the URL ending in “?tour=1”.
02
The toolbar and command boxes
Like Fusion 360, each tool is an icon at the top: Project, Gallery, Wall, Silhouette, Surface, Slats, Assembly, Sheets, Appearance, Display.
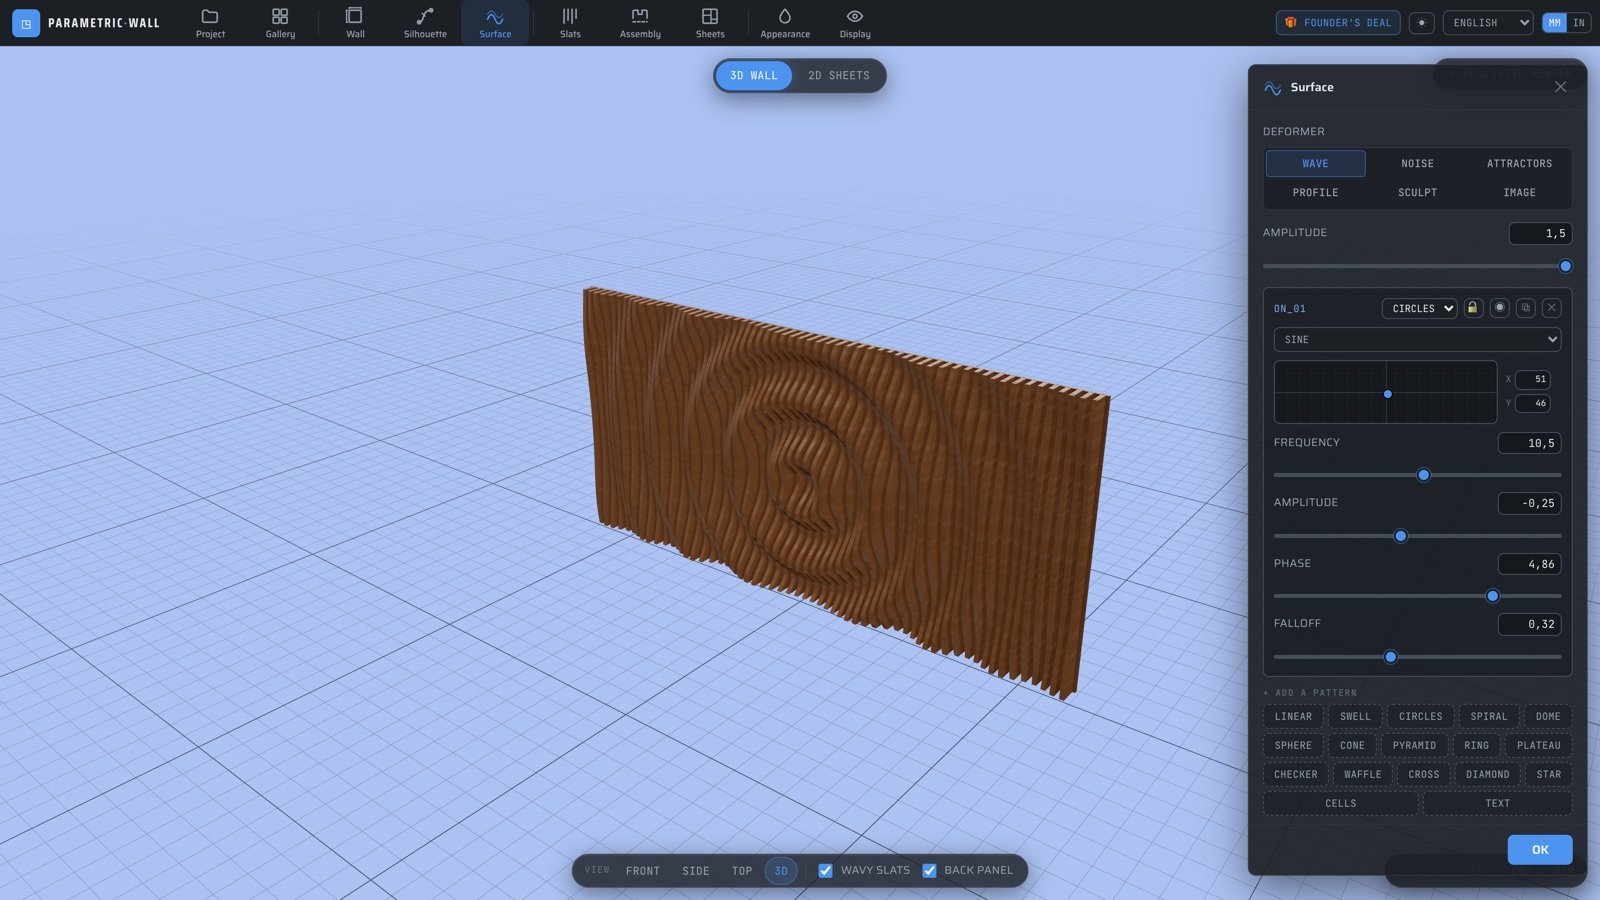
Click a tool: a command box opens on the right with its settings. The 3D updates live as you adjust. The OK button confirms and closes the box.
03
Shaping the wall
Wall tool: set width, height and maximum depth.
Silhouette tool: the outline isn't limited to a rectangle. Pick a preset, draw a variable-width ribbon, freehand a shape, import an SVG or trace an image.
Surface tool: build the relief with wave layers (wave, spiral, radial, dome, text…), attractors, a heightmap or the 3D sculpt brush. This is where the wall comes to life.
- 💡Every field also accepts a directly typed value, not just the slider.
- 💡Lock a wave layer to avoid changing it by mistake.
04
CNC cutting and export
Slats / Assembly tools: spacing, thickness, tool-bit diameter, tenon-mortise joinery and back panel — all generated automatically.
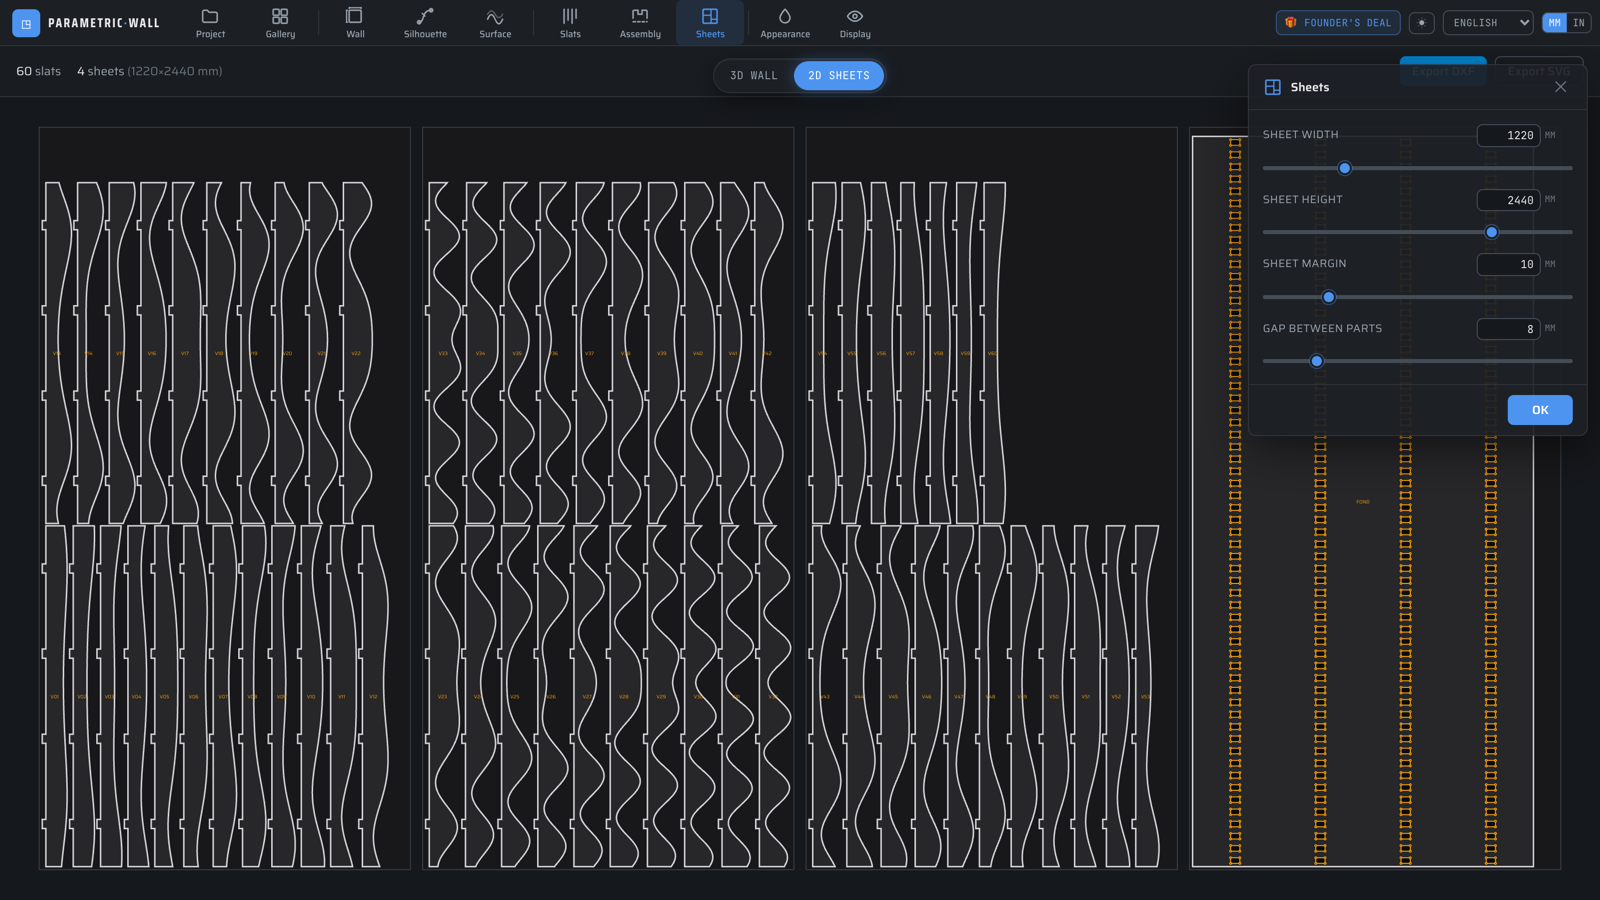
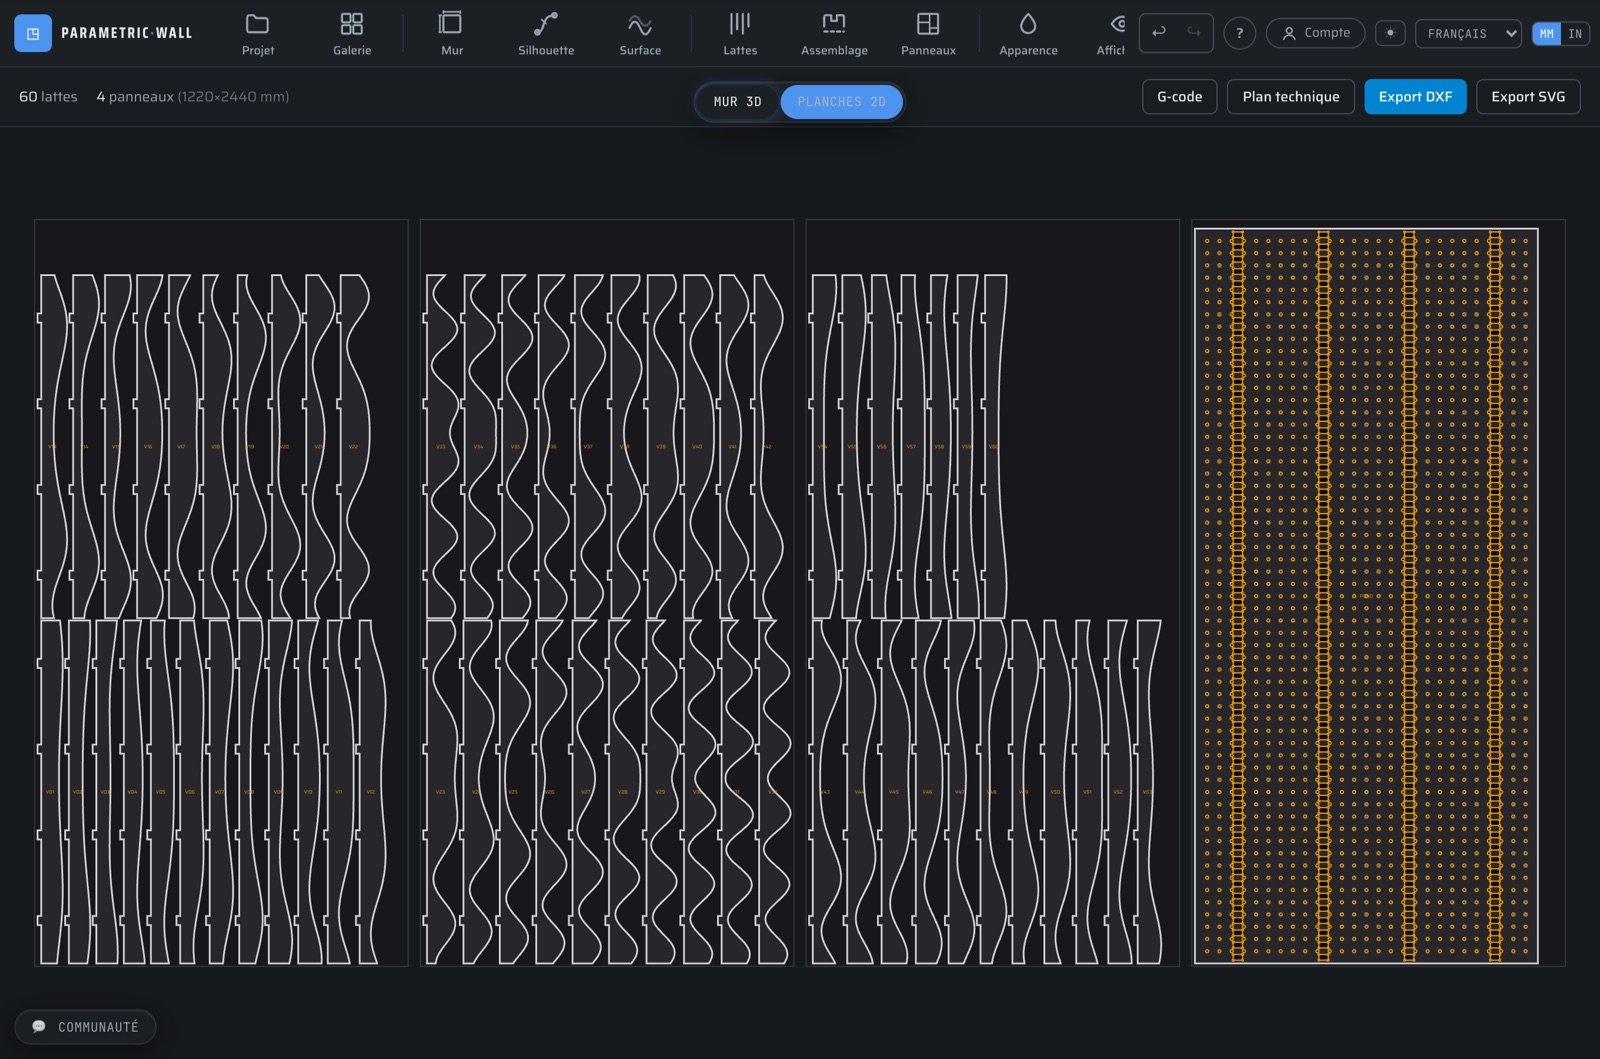
Open 2D Sheets: the wall is sliced into numbered slats nested on standard panels. Change the dimensions and the nesting reorganizes live. Export a DXF (R12) or SVG for your CNC or laser.
For 3D: export STL and OBJ (3D printing, rendering) or real editable STEP solids for Fusion 360 / SolidWorks.
05
G-code export (GRBL / Mach3)
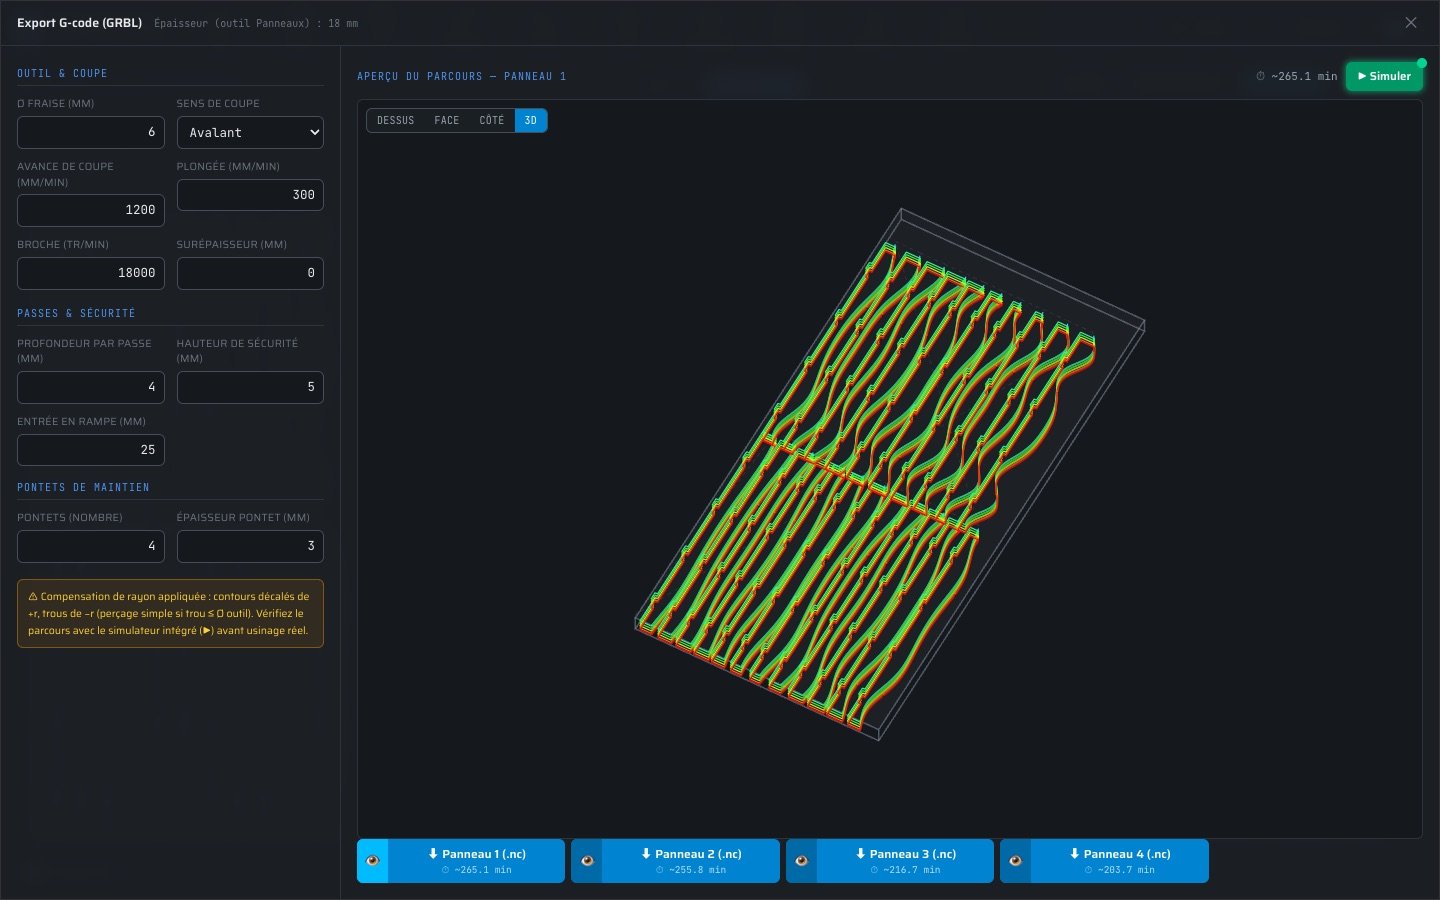
No CAM software needed: in 2D Sheets, the G-code button opens a full-screen workshop that generates cutting toolpaths directly — one .nc file per sheet, ready for GRBL or Mach3.
Radius compensation is applied: outlines are offset by +r and holes by −r from the bit diameter (plain drilling when the hole is smaller than the tool). Set the cut direction (climb/conventional), feed, plunge, depth per pass, stock allowance, ramp entry and holding tabs.
The toolpath preview renders in 4 views (top, front, side, orbital 3D), colored by pass depth, and every download button shows the estimated machining time for that sheet.
06
Built-in machining simulator
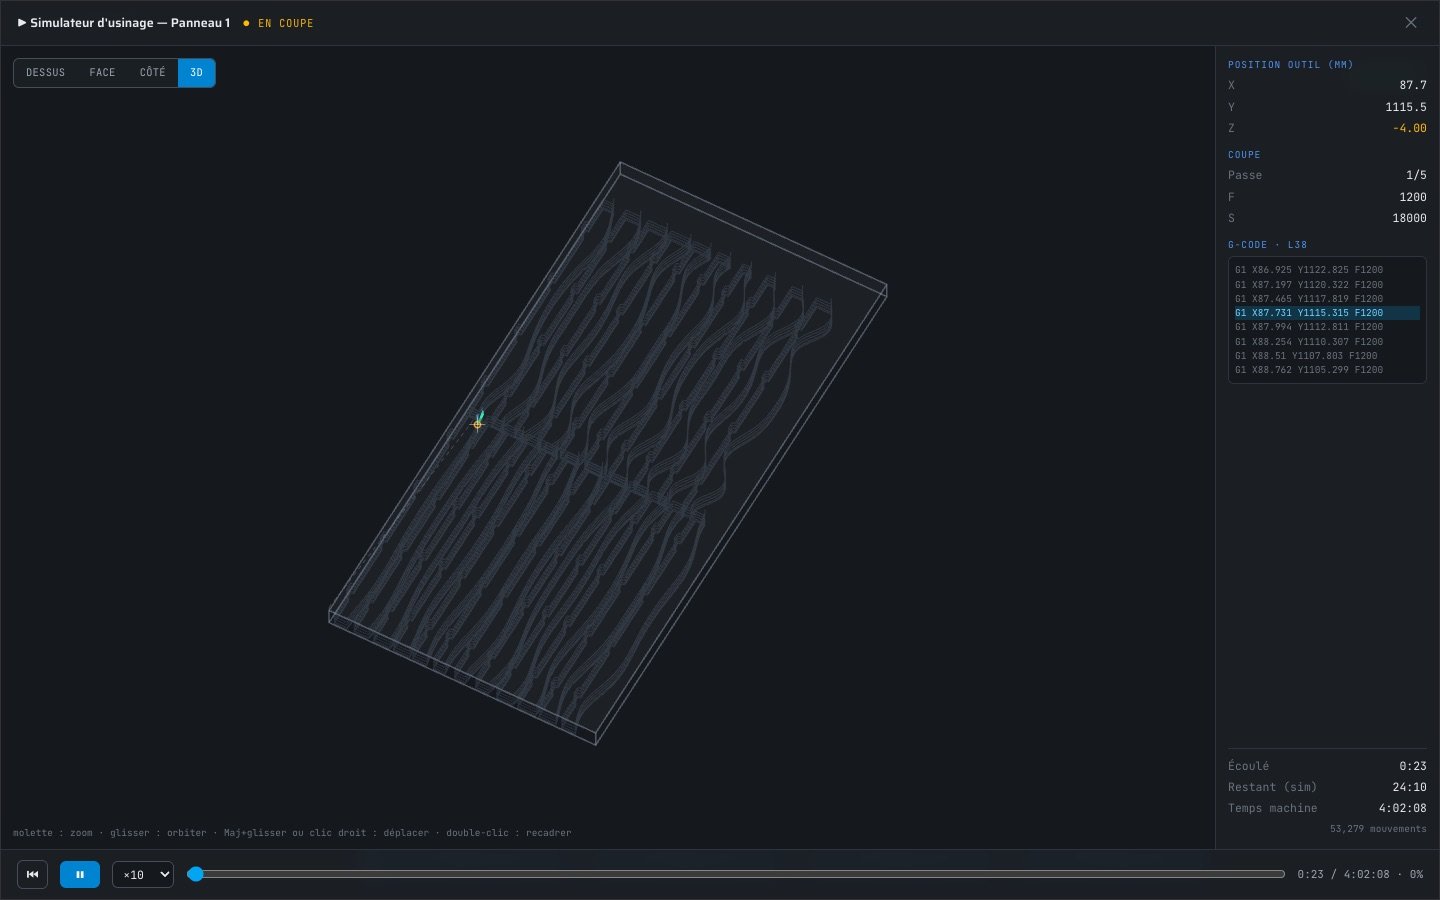
The ▶ Simulate button opens a true NC-Viewer-style simulator, full screen: it interprets the exact .nc file that was generated and animates the bit at the programmed feed rates, with the trace colored by depth and rapids shown as dashed lines.
Four views: top, front (X-Z) and side (Y-Z) with the Z axis stretched to read passes and tabs, plus an orbital 3D view (drag to orbit, Shift+drag or right-drag to pan, wheel to zoom).
The side panel shows live X/Y/Z position, current pass, feed F, spindle S and the highlighted G-code line. Play/pause (space), ×1 to ×100 speed, a scrubbable timeline and the total machine time computed from the file.
- 💡Always check the simulation before sending the file to the machine, especially after changing the bit or the pass depth.
07
Perforated acoustic panel
Turn your wall into an acoustic panel: in the Assembly tool (tenon-mortise mode), enable “Perforated acoustic back panel”. The back panel gets a grid or staggered perforation pattern, automatically avoiding the mortises.
Set the hole diameter (4-24 mm) and pitch: the open-area ratio and an NRC absorption estimate update live (indicative values, with a wool-type absorber behind the panel).
Perforations appear in the 2D Sheets view and in every export (DXF, SVG, G-code, technical plan) — not in 3D, to keep the viewport fast.
08
Template library and material guides
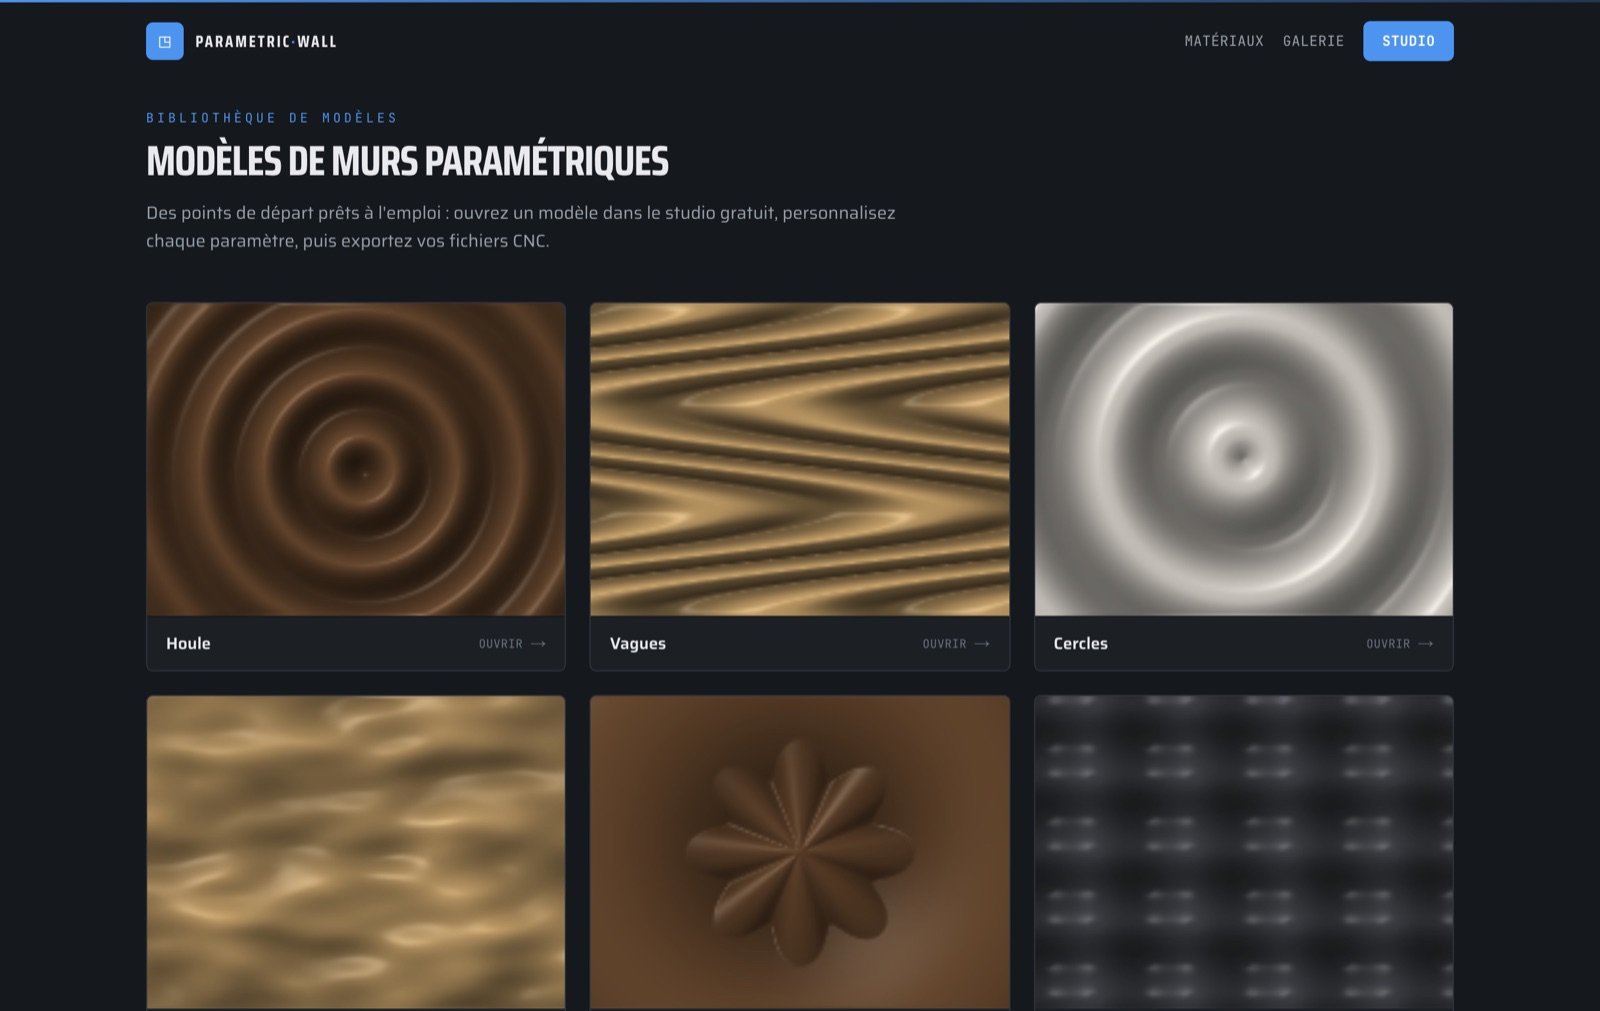
Don't want to start from a blank page? The Templates page offers 30 ready-made designs (swell, dunes, medallion, op-art…). One click on “Open in the studio” loads the design, fully editable.
The Materials page gathers our guides per species — oak, walnut, MDF, plywood, pine, bamboo — with properties, indicative CNC feeds & speeds and the templates that flatter each material.
Inside the studio, the Project tool also hosts this template gallery, and the Sheets tool accepts a price per sheet to estimate your project's material cost.
09
Realistic render
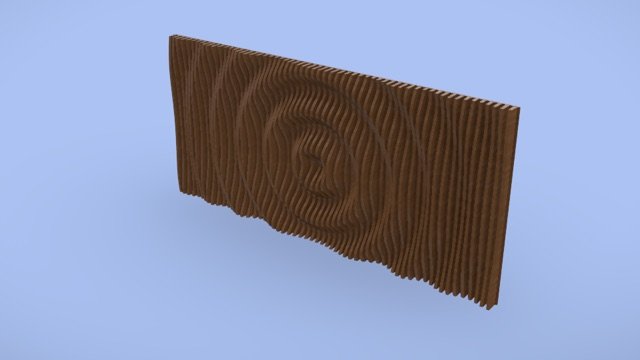
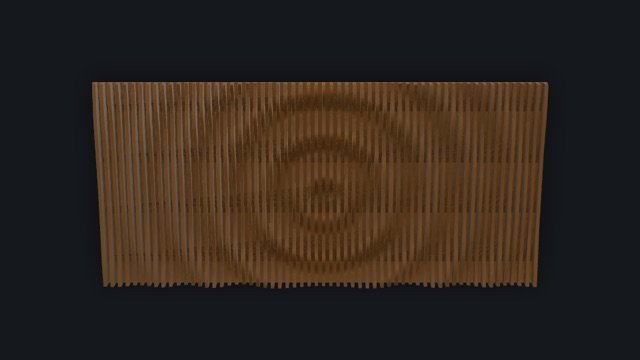
The “Realistic render” button (top right) dresses your wall with a wood material, studio lighting and soft shadows. Great for presenting a project to a client or for your screenshots.
10
See the wall in your room (AR)
The “View in AR” button generates a QR code. Scan it with your phone: the wall appears in your room, at real scale, against your actual wall — photoreal wood and baked shadows between the slats.
Design on desktop, preview on mobile: nothing to install (native AR on iPhone/Android).
11
Share to the community gallery
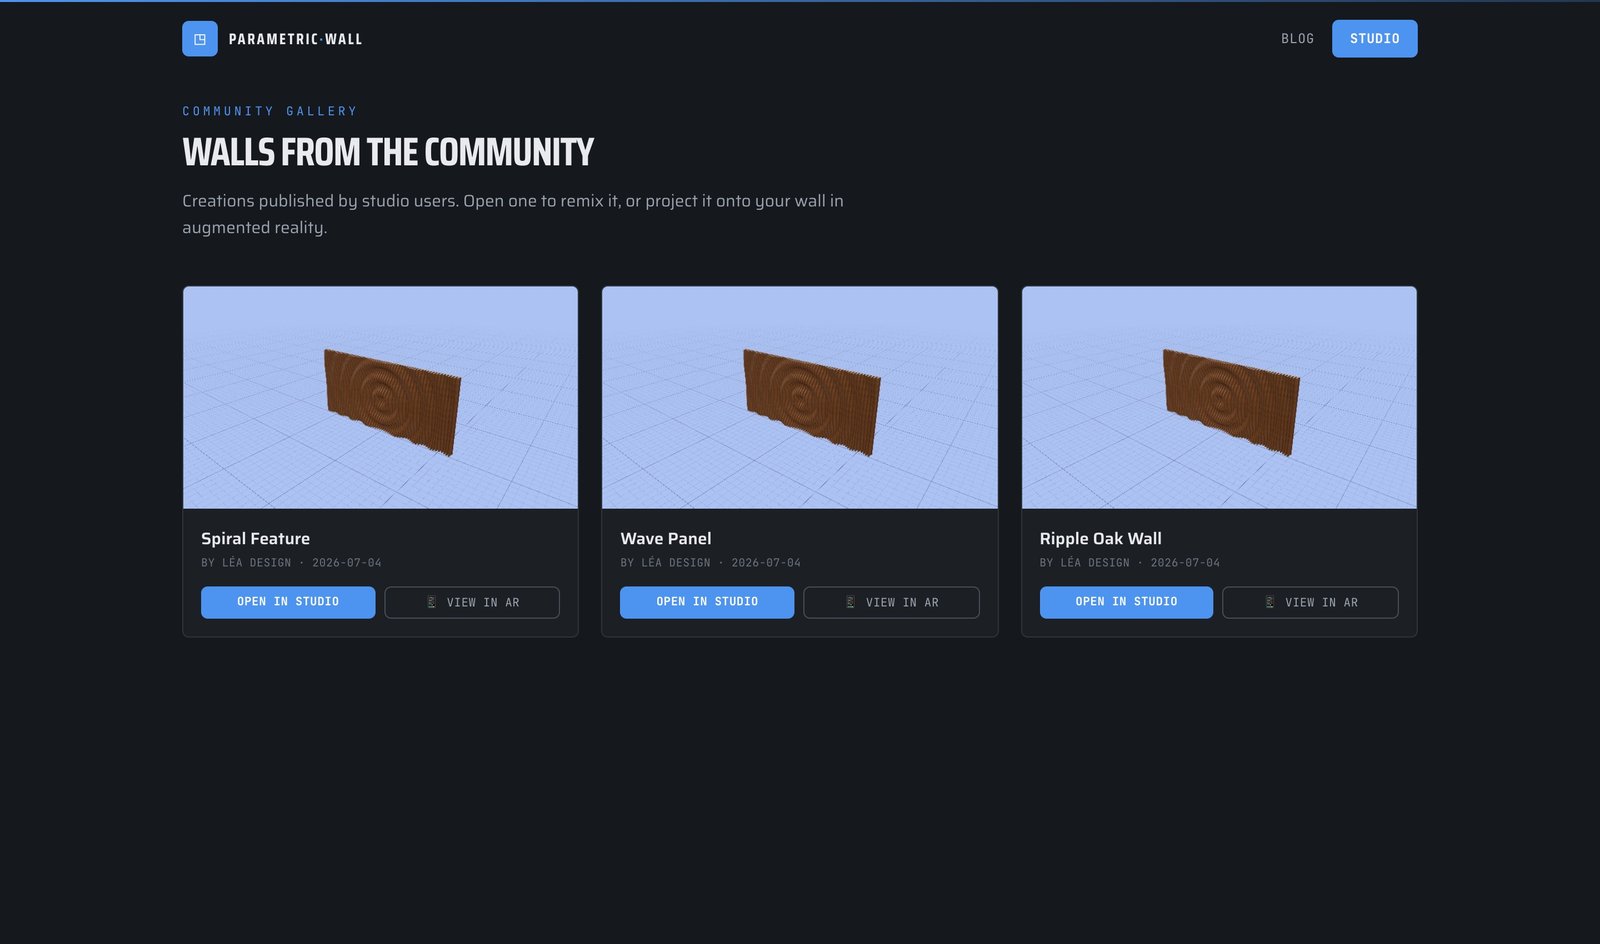
The “Publish” button automatically captures a thumbnail of your 3D view. Give it a title, publish, and your wall joins the public gallery.
From the gallery, anyone can open a design in the studio to remix it, or project it in AR at home. Publishing needs a free account (the studio itself stays open to everyone).
12
Account and cloud projects
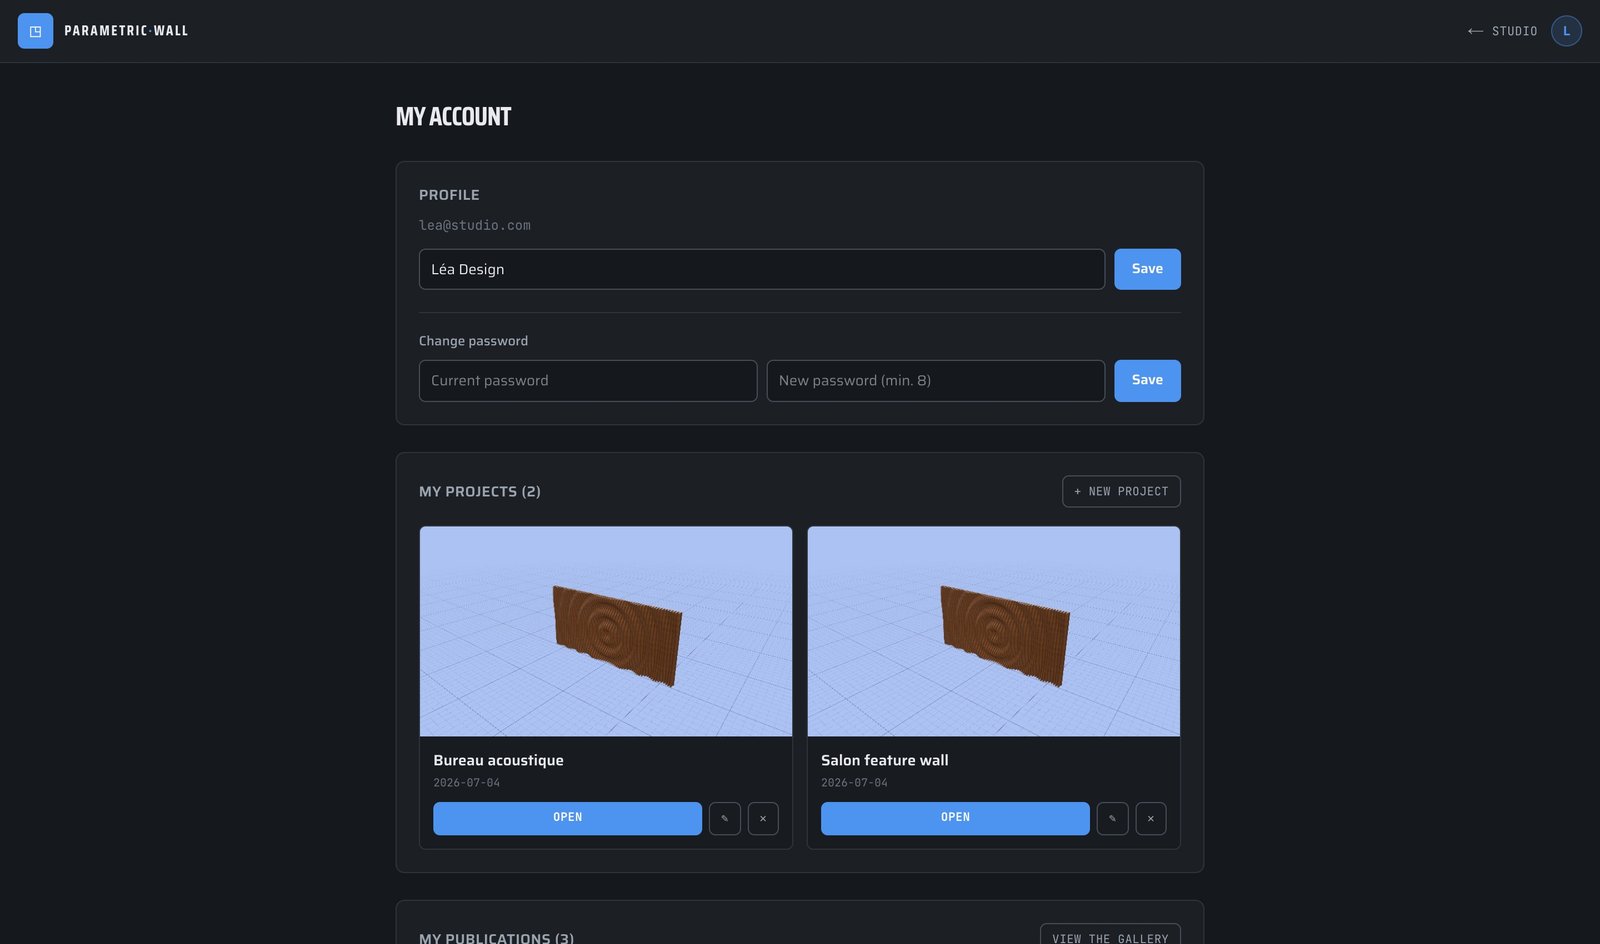
Create a free account (optional) to save your walls to the cloud with their thumbnail, and find them from any device.
Your “My account” space gathers your projects (open, rename, delete), your gallery publications, your profile (nickname, password) and account deletion.
13
Theme, units and languages
Top right: switch between dark and light theme, choose millimetres or inches, and pick your language (14 available, including Arabic in RTL).
Ready to design your wall?
Open the studio →